


Honda Decals Vinyl Stickers Set 1
Honda Decals Vinyl Stickers Set 1
Low stock: 7 left
Couldn't load pickup availability
We ship decals the same day or the next business day after the order is placed.
Honda Motorcycle Decal Set is a clean and versatile way to refresh the look of your bike with a subtle, factory-style detail. Made from high-quality automotive-grade vinyl, these decals hold up well through everyday riding, weather exposure, and regular washing while keeping their sharp appearance over time. The balanced design fits naturally on a wide range of Honda models, making it suitable for both stock bikes and custom builds. These decals can be applied to any smooth surface, including tanks, fairings, side panels, fenders, or helmets. A great option for Honda riders who want a clean, simple upgrade that looks right.
We strongly recommend applying a clear coat when installing on brake calipers.
Key Features:
- Each order includes two decals
- Die-cut no background decals.
- Made from premium Oracal 651 Vinyl
- Decals measured by width (see photos for exact size)
- Height adjusted automatically to keep original proportions.
- We recommend Apply in 50–90°F (10–32°C) temperature
- Color and other customization available!
- If you can’t find the design you need — contact us directly, we’ll make it!
- This product is an aftermarket, handmade decal and is not an original OEM part.
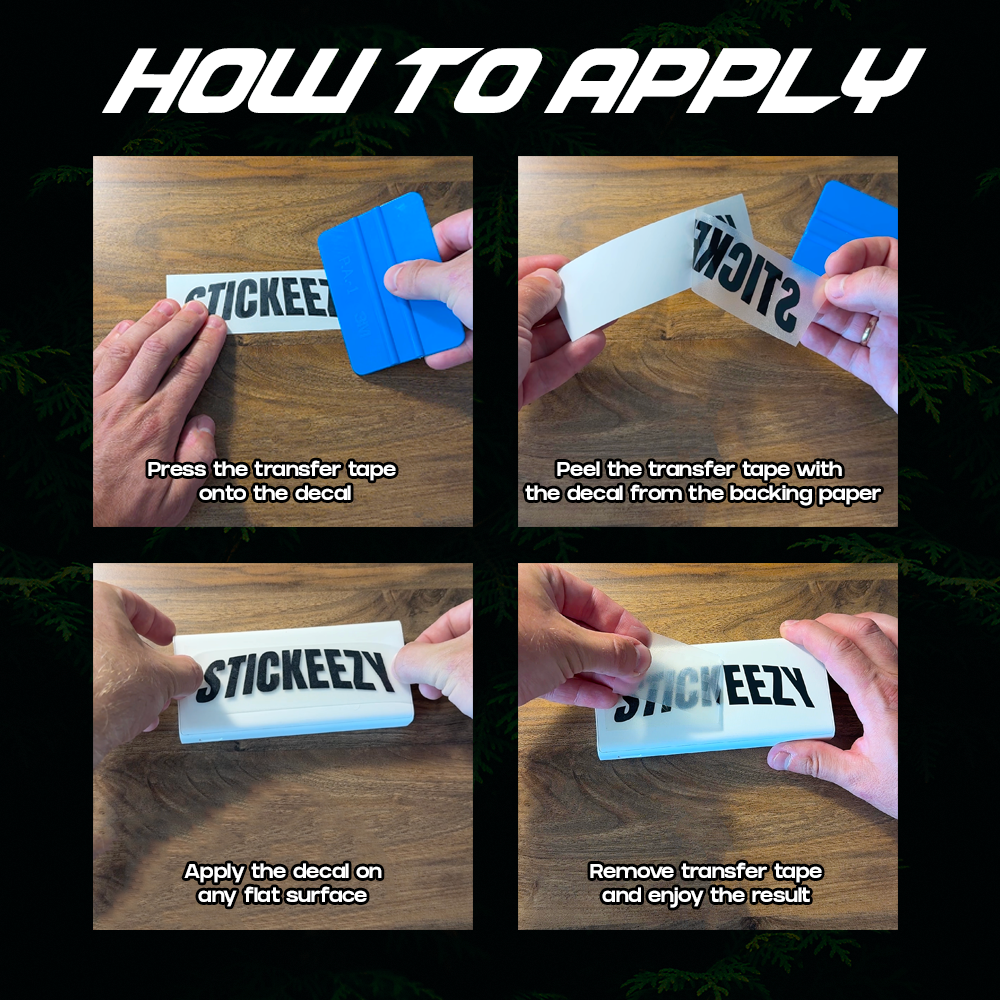
Here are the recommended application steps for the caliper decals:
1. Clean the surface thoroughly. It should be completely free of dust, brake residue, oil, grease, or any dressing products. For best results, wipe the area with alcohol and let it dry fully.
2. Before applying, do a dry test fit. Hold the decal in place first so you can see exactly where you want it to sit.
3. Slowly peel the backing paper away from the decal. Make sure the decal stays attached to the clear transfer tape as you peel it off the backing.
4. Once the decal is on the transfer tape, carefully place it onto the surface in the desired position.
5. Press it down firmly using your fingers or plastic card, working from the center outward to help avoid bubbles and to make sure the decal lays flat.
6. After that, slowly peel the clear transfer tape off at a sharp angle. Do this carefully and gradually. If any part of the decal starts lifting with the tape, press that section back down and continue peeling more slowly.
7. Once the transfer tape is removed, press over the decal again firmly to make sure all edges are fully attached.
A few extra tips:
• Apply only to a clean and completely dry surface
• Do not rush when peeling the backing or transfer tape
• A slow peel works best
• Avoid touching the adhesive side with your fingers before application
If you have any questions during installation, feel free to message us anytime — we’re always happy to help.
Share




- Choosing a selection results in a full page refresh.
- Opens in a new window.